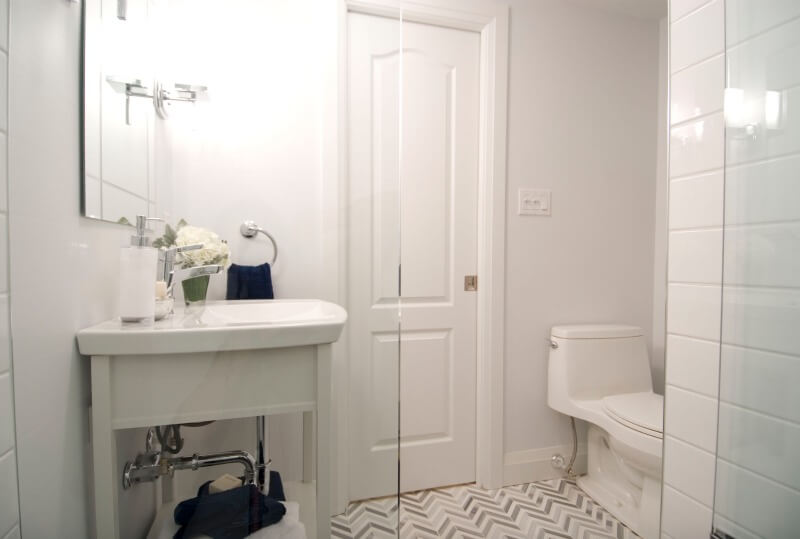

Installing a faucet can be a pretty easy job depending on the faucet type and how accessible the sink underside is. The best option is installing the faucet during the construction, as this makes it easier to assemble. With the right tools, this can be an ideal DIY project that can take just a few hours to complete. Therefore, this article provides a step by step guide on how you can easily install faucets in new bathroom vanities Sydney.
- Preparing for the installation: There are some essential tools you will need to install a faucet, and they include basin wrench, adjustable wrench, plumber's putty, a faucet, plumber's tape. It is very necessary to organize your tools before you start fixing the faucet to save time and make the job easier. You also have to turn the sink where you will be installing the faucet on upside down to make assembling the faucet on it easy.
- Fixing The Gasket: The gasket is a seal that fills the space between the faucet body, d valves, and the sink to prevent water leakage. You need to attach the gasket to the faucet and then put the tailpiece through the mounting hole. Then screw to the tailpiece the washer and mounting nut and then put the valves into their respective holes on the sink and then tighten them. If the faucet did not come with a gasket, then you will have to use a plumber’s putty in place of the gasket.
- Taping The Threaded Ends: A plumber’s tape is a film tape used for sealing pipe threads. You need to wrap the valves, and faucet tailpipe threaded ends with a plumber’s tape about three times without extending the tape beyond the end of the pipe. This tape lubricates, allows the proper seating of the threaded ends, and stops the threaded ends from seizing when being screwed. It also works as a deformable filler and helps seal the joints without making it difficult to tighten but instead making it easier and also preventing leakage from the pipes.
- Attaching The Tubes and Installing the Drain Pop-up: For this step, you take the water supply tubes and attach them to the faucet tailpipe threaded ends and valves and tighten them with a wrench. If the faucet comprises a drain pop-up, you will have to install it. The lift rod is pressed inside the sprout hole with the pivot rode attached to it through the aid of a spring clip and an extension rod. Additionally, you can adjust it to enhance the proper opening and closing of the drain stopper.
- Placing It Into The Vanity: Here, you have to place the sink with the faucet into the vanity properly and then attach the hot and cold water supply tubes to the shutoff valves on the wall with a wrench. After that, you turn on the faucet and make sure to check for any leakages.